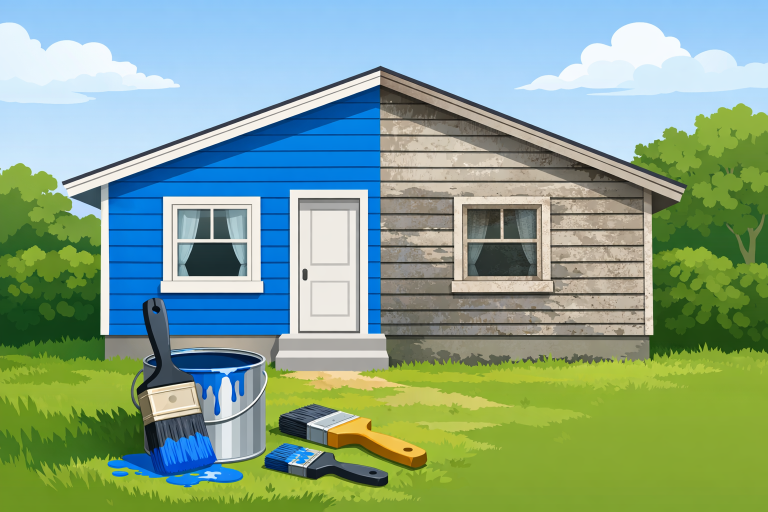
Enhancing your home’s exterior with a fresh coat of paint is one of the most effective ways to boost curb appeal and increase longevity. By properly protecting your house from weather and other elements, fresh exterior paint not only transforms your home’s appearance but also helps maintain its value.
If you’re planning an update or preparing your home for sale, consider trusted professionals for exterior house painting in Kansas City MO, to ensure quality results.
Accomplishing a beautiful and lasting finish requires more than applying paint on walls. Preparation and climate play a major role, as does your choice of paint and adherence to the right techniques.
By understanding the best practices and avoiding common mistakes, you can achieve a look that stands the test of time while keeping maintenance manageable.
Before you begin, knowing each step of the process helps set clear expectations and avoid potential pitfalls. This guide outlines everything you need, from selecting the best materials and weather to final maintenance tips for extended protection and beauty.
Whether you do it yourself or hire professionals, following industry-recommended methods ensures a better result. For in-depth ideas and inspiration, homeowners may also refer to large resources like HGTV’s exterior painting guide.
Choosing the Right Paint
Quality exterior paint is foundational for both appearance and longevity. Opting for 100% acrylic formulations provides superior durability, flexibility, and resistance to the effects of sunlight and moisture. Oil-based paints can still perform in certain settings, yet acrylic resists peeling, blistering, and fading much more reliably.
The paint’s finish also matters: satin or semi-gloss strikes a balance between visual appeal and ease of cleaning, making it a popular choice for most siding.
When narrowing your selection, verify that the chosen paint is designed for exterior surfaces and check for mold and fade resistance on the label. If in doubt, consumer organizations like Consumer Reports offer independent product comparisons.
Preparing the Surface
For paint to adhere properly and look uniform, thorough surface preparation is crucial. Begin by washing all areas with mild detergent and water, which removes dust, mildew, and existing residue. If necessary, use a pressure washer to clean stubborn buildup, but be sure to maintain enough distance to avoid underlying damage to surfaces.
- Clean the Surface: Scrub siding and trim. Let them dry completely before continuing.
- Repair Damages: Fill in cracks, patched holes, and sand rough or peeling edges for a smooth foundation.
- Remove Loose Paint: Scrape away any flaking paint, as painting over these sections only leads to faster deterioration.
- Prime Bare Wood: Any newly exposed areas should be covered with a high-quality primer to seal and prepare the surface for best paint adhesion.
Optimal Weather Conditions
Weather is one of the most important variables when painting outdoors. Paint should be applied when the outside temperature is between 50°F and 85°F, with a preference for dry days. If temperatures are expected to drop below freezing within 24 hours, it can disrupt curing and lead to increased cracking or peeling later. The ideal humidity range is between 40% and 50%.
Excess humidity extends drying times and may reduce overall durability, while painting in direct sunlight causes the paint to dry too quickly, leading to visible brush marks or uneven coverage. Plan to start with shaded areas and move as the sun shifts position around your house.
Application Techniques
Professional results depend on both the tools and the method. Use brushes and rollers specifically labeled for exterior paint. High-quality materials enable better paint absorption and distribution, helping to avoid streaks and lap marks. For the most even and durable coverage, apply paint in two thin layers, allowing for recommended drying times between coats.
When brushing wood, follow the grain of the material for a uniform, smooth finish. To avoid visible marks where freshly applied paint overlaps with dried sections, maintain a wet edge by overlapping strokes while the previous coat remains damp.
Common Mistakes to Avoid
- Skipping Prep: Failure to clean and repair surfaces leads to paint that peels or bubbles prematurely.
- Neglecting Weather Considerations: Painting in unsuitable conditions may cause visible flaws and reduce product life.
- Applying Thick Coats: Thicker is not better. Heavy application can cause sags, runs, and extended drying time. Always opt for multiple thin layers.
- Ignoring Trim Work: Paying attention to trim, doors, railings, and other small details leads to an integrated, finished look.
Maintenance Tips
- Annual Inspections: Each year, check carefully for peeling, flaking, or spots of discoloration. Early detection allows for quick fixes before bigger problems develop.
- Routine Cleaning: Washing your exterior annually with a garden hose or soft brush removes corrosive dirt and mildew.
- Timely Touch-Ups: Promptly addressing small chips and cracks prevents moisture ingress, which can cause paint and surface material to deteriorate rapidly.
With thorough preparation, quality materials, and attention to detail throughout the exterior painting process, you can enjoy a home that looks appealing and remains well-protected for years to come. Not only does following these best practices improve the finished appearance, but it also assists in maintaining property value and structural integrity over time.
Also read: Why Waterproof Vinyl Flooring Is Great for Busy Homes